One more thing from Droidkaigi 2019
This is the final part in my series about my talk at DroidKaigi 2019. You can find the rest of them below:
If you have gone though my note about attending DroidKaigi 2019 part 1, part 2, part 3, I hope you will be excited about Kohii and curious about how to use it in practice.
Kohii is still designing phase, and not ready for production yet. At the moment I'm typing these lines, I already have a (kind of) new mechanism that allow client to further customize Kohii's behavior, as well as reduce its burden which in turn improve its performance.
In this post, I would like to show how to build the following App using current release alpha04 of Kohii:
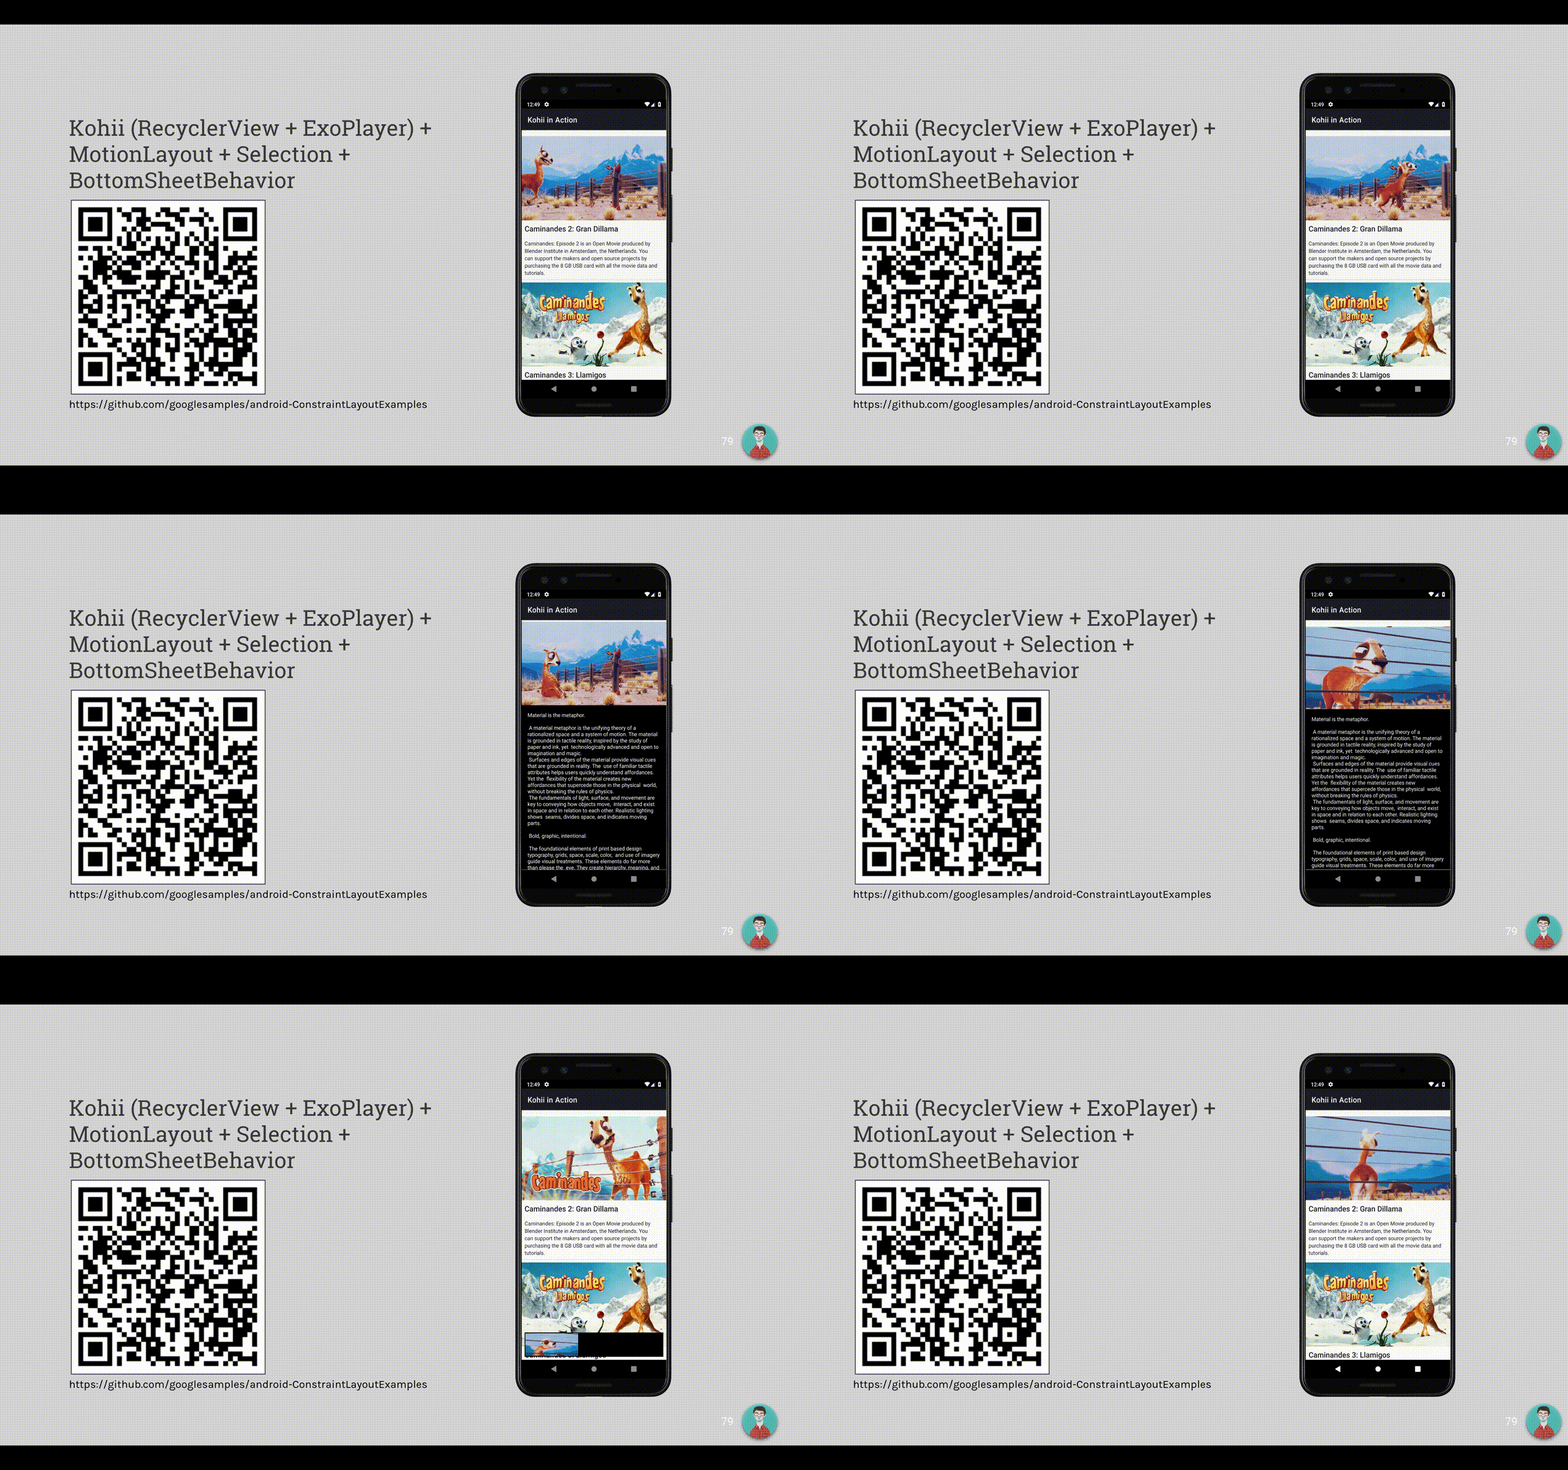
First, let I sketch out our target in this post:
- Implement ExoPlayer in a RecyclerView. Video item should start and pause playback automatically when user scrolls the list.
- When user clicks to a Video item, it will open a fullscreen overlay single player. The playback should keep playing without any discontinuity.
- The overlay player can be transformed to the mini form once User drag it down.
- Pressing Back button will also transform the overlay player, if it presents, or will close the App otherwise.
This post use Android Studio 3.4 Beta 02. Before starting, please make sure
- You own the content you use in the project, or at least you have enough right to use.
0. Start new project with necessary dependencies
First steps would be to start new project using Android Studio. I would like to go through this step.
1. Update necessary dependencies
After finishing step 0, please add these lines below to build.gradle:
// app module's build.gradle
implementation 'androidx.constraintlayout:constraintlayout:2.0.0-alpha3'

implementation "androidx.coordinatorlayout:coordinatorlayout:1.1.0-alpha01"
implementation "androidx.recyclerview:recyclerview:1.1.0-alpha02"
implementation "androidx.recyclerview:recyclerview-selection:1.1.0-alpha01"
implementation "androidx.lifecycle:lifecycle-extensions:2.1.0-alpha02"
implementation "com.google.android.material:material:1.1.0-alpha03"

implementation "im.ene.kohii:kohii:1.0.0.2904-ALPHA04"
implementation "com.google.android.exoplayer:exoplayer:2.9.4"
See this diff for detail.
We will use BottomSheetBehavior with MotionLayout to create the overlay player pane.
2. Preparing base UI
In this step, we put simple implementation for our list. Take a look at this diff to see what has changed. And below is how this app looks right now:
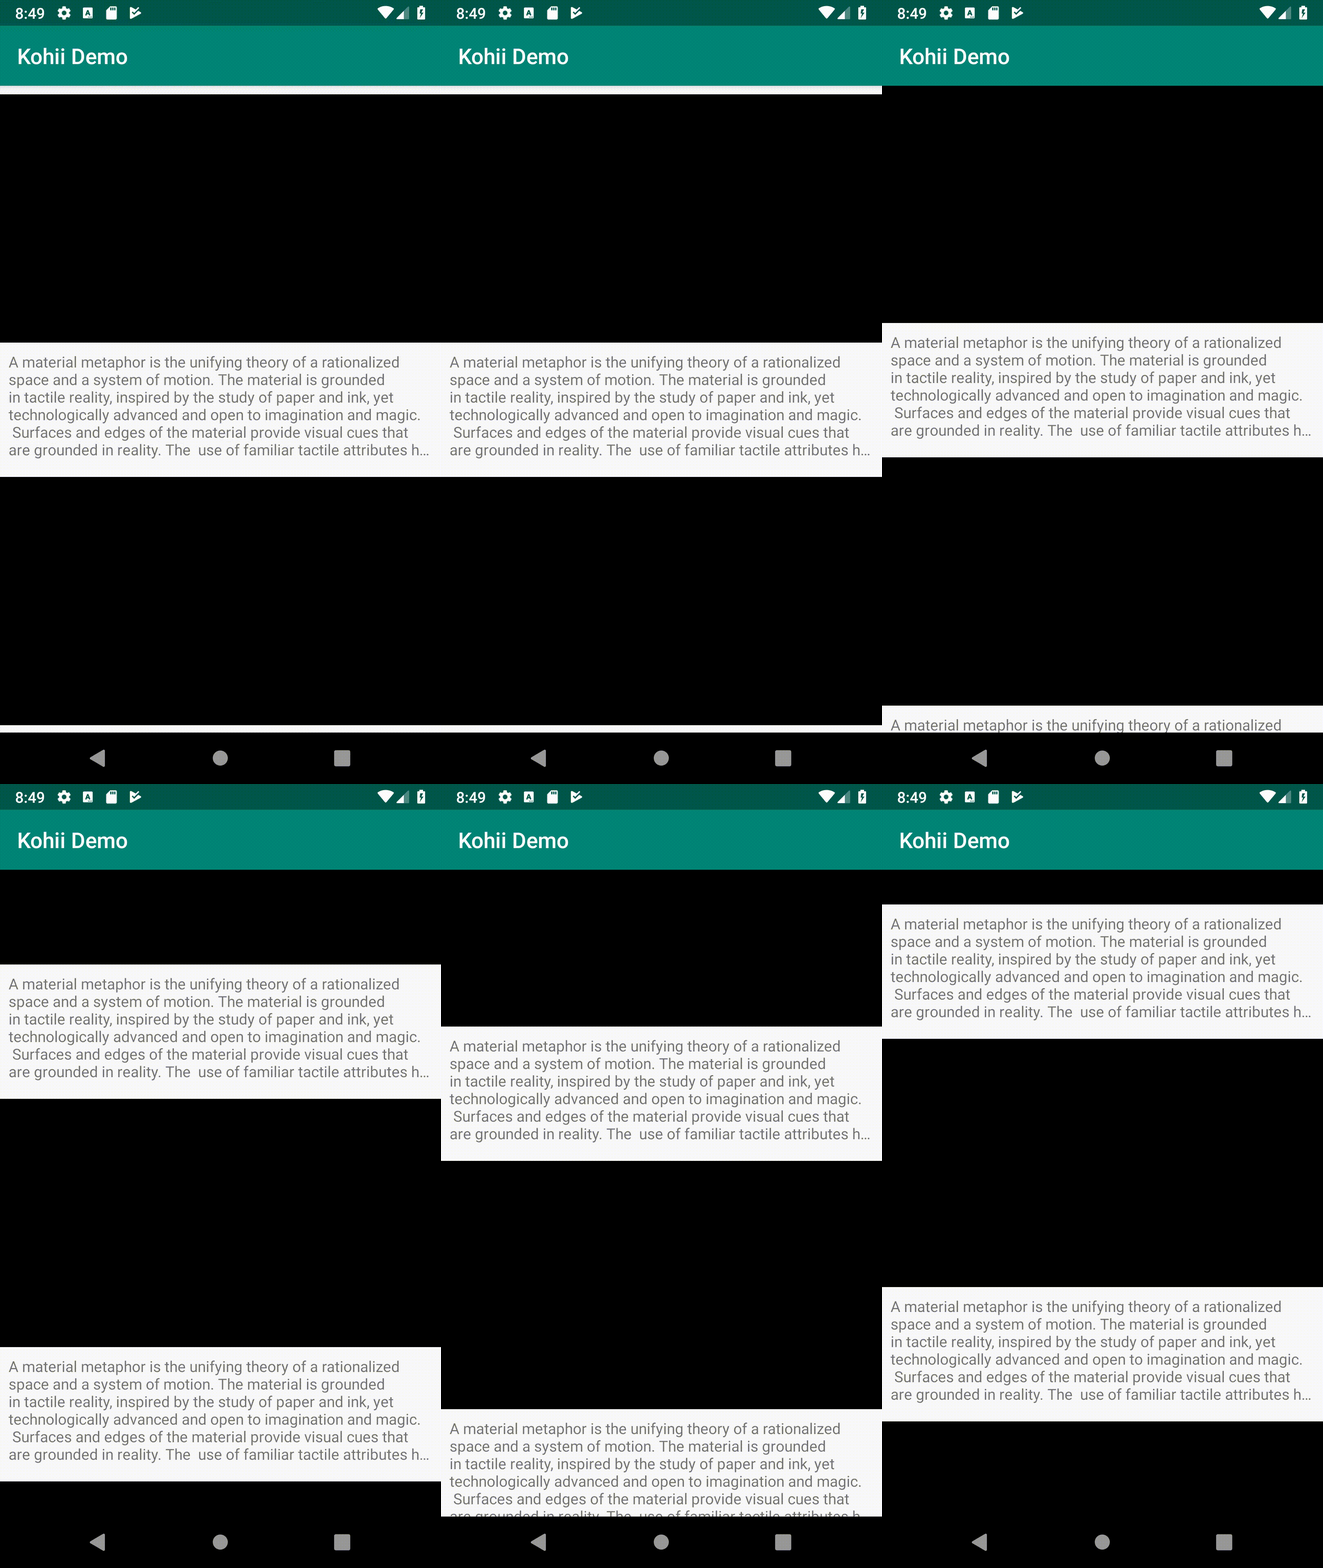
To summarize: we add the option to compile in Java 8 as ExoPlayer's requirement. Next we add a simple ViewHolder whose contains only an ExoPlayer and a TextView. We will use this in our demo.
3. Adding Kohii to the App
In this step, we will add actual Video content in to the list, and use Kohii to make ExoPlayer works with our video list.
See this diff for detail about what has changed.
In this step, we first add the permission to use INTERNET because our App will load Video from it. In this demo, we will use Big Buck Bunny because it is open and free for non-commercial use, which is great.
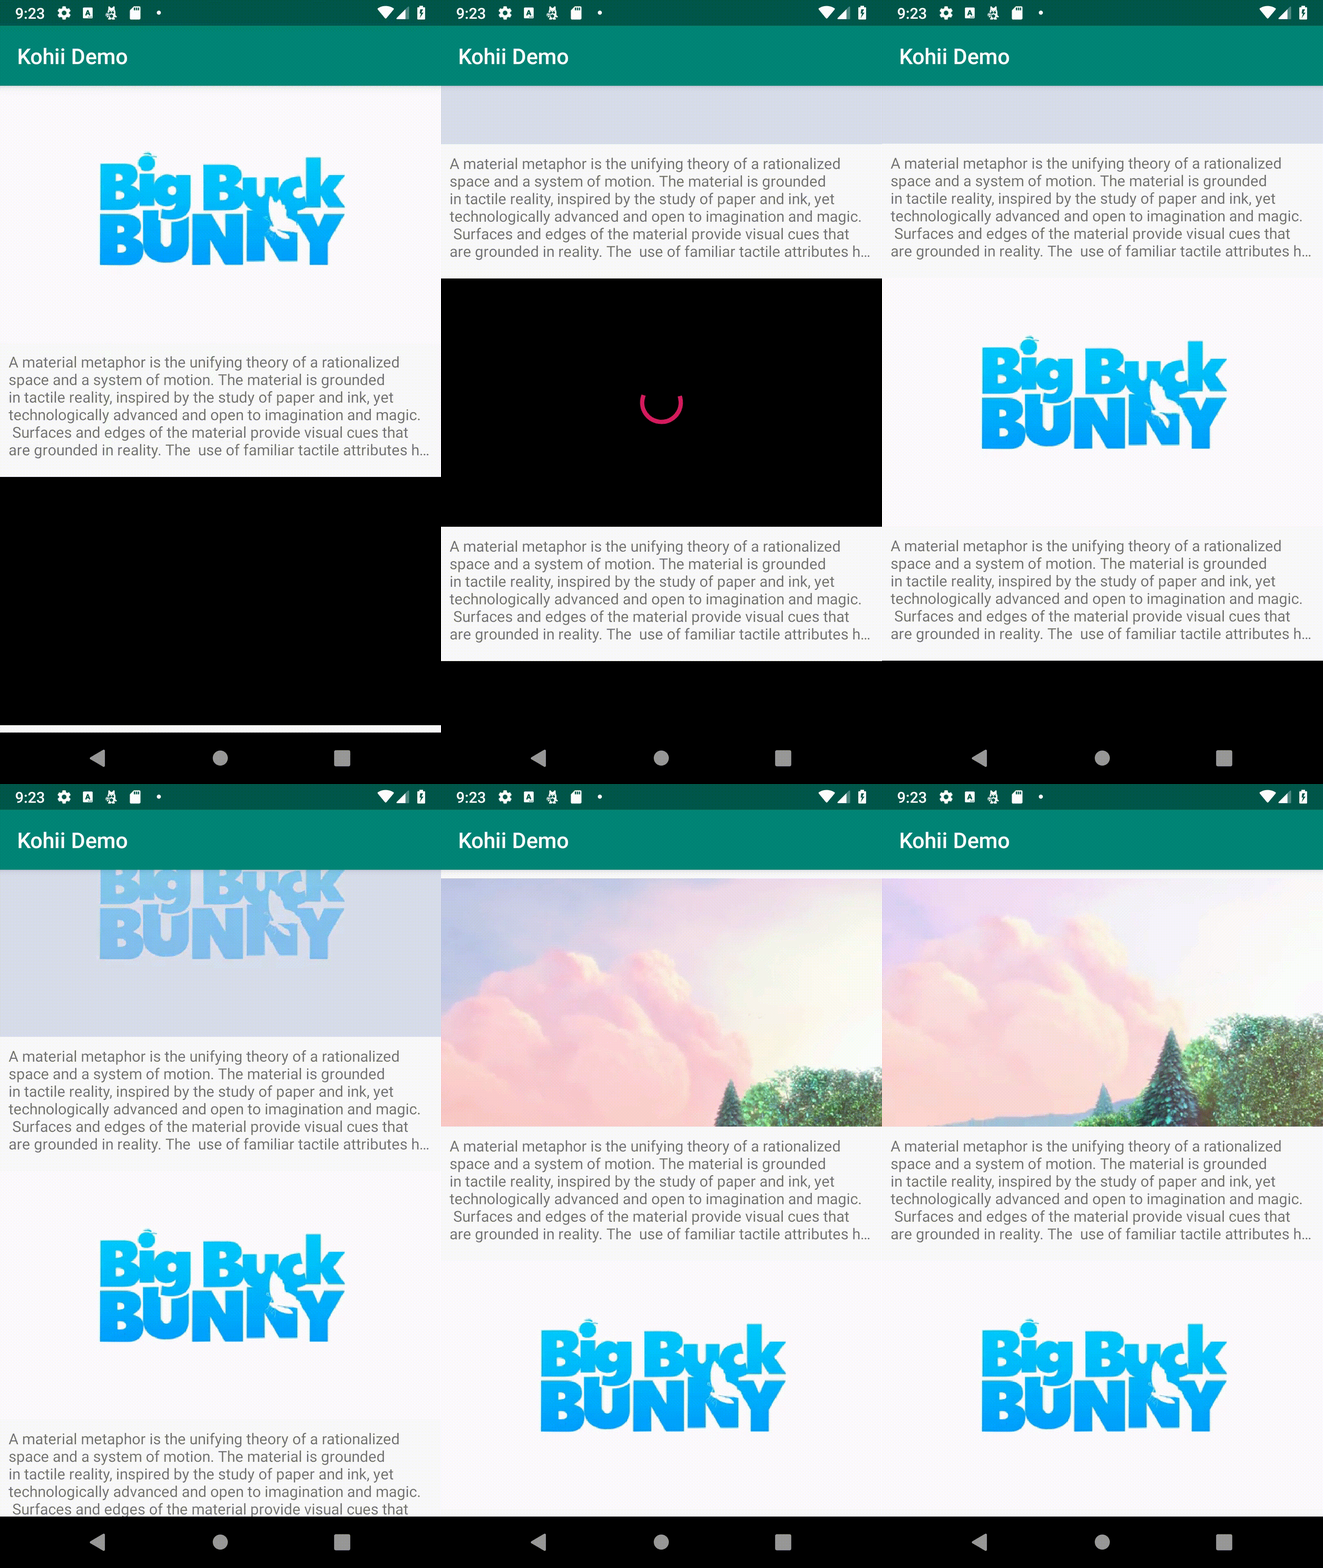
In this step, we simply adding Kohii to the adapter, and then use it to build Playable and pass it down to ViewHolder. It is enough to gain the automatic play/pause behavior in our App, as below:
4. Adding selection configuration
From now, we add more complicated behavior to the list, including listening to click event to the PlayerView and connect it to the SelectionTracker.
See this diff for detail about what has changed.
To summarize (we have a lot to summarize in this step):
- We need to create a SelectionTracker that accepts only single selection using
SelectionPredicates.createSelectSingleAnything(). - This SelectionTracker will be passed down to Adapter. Here in the Adapter, when we create new VideoViewHolder, we also bind a click listener to the PlayerView container only. Once clicked, we will dispatch the selection to SelectionTracker.
- We also need a
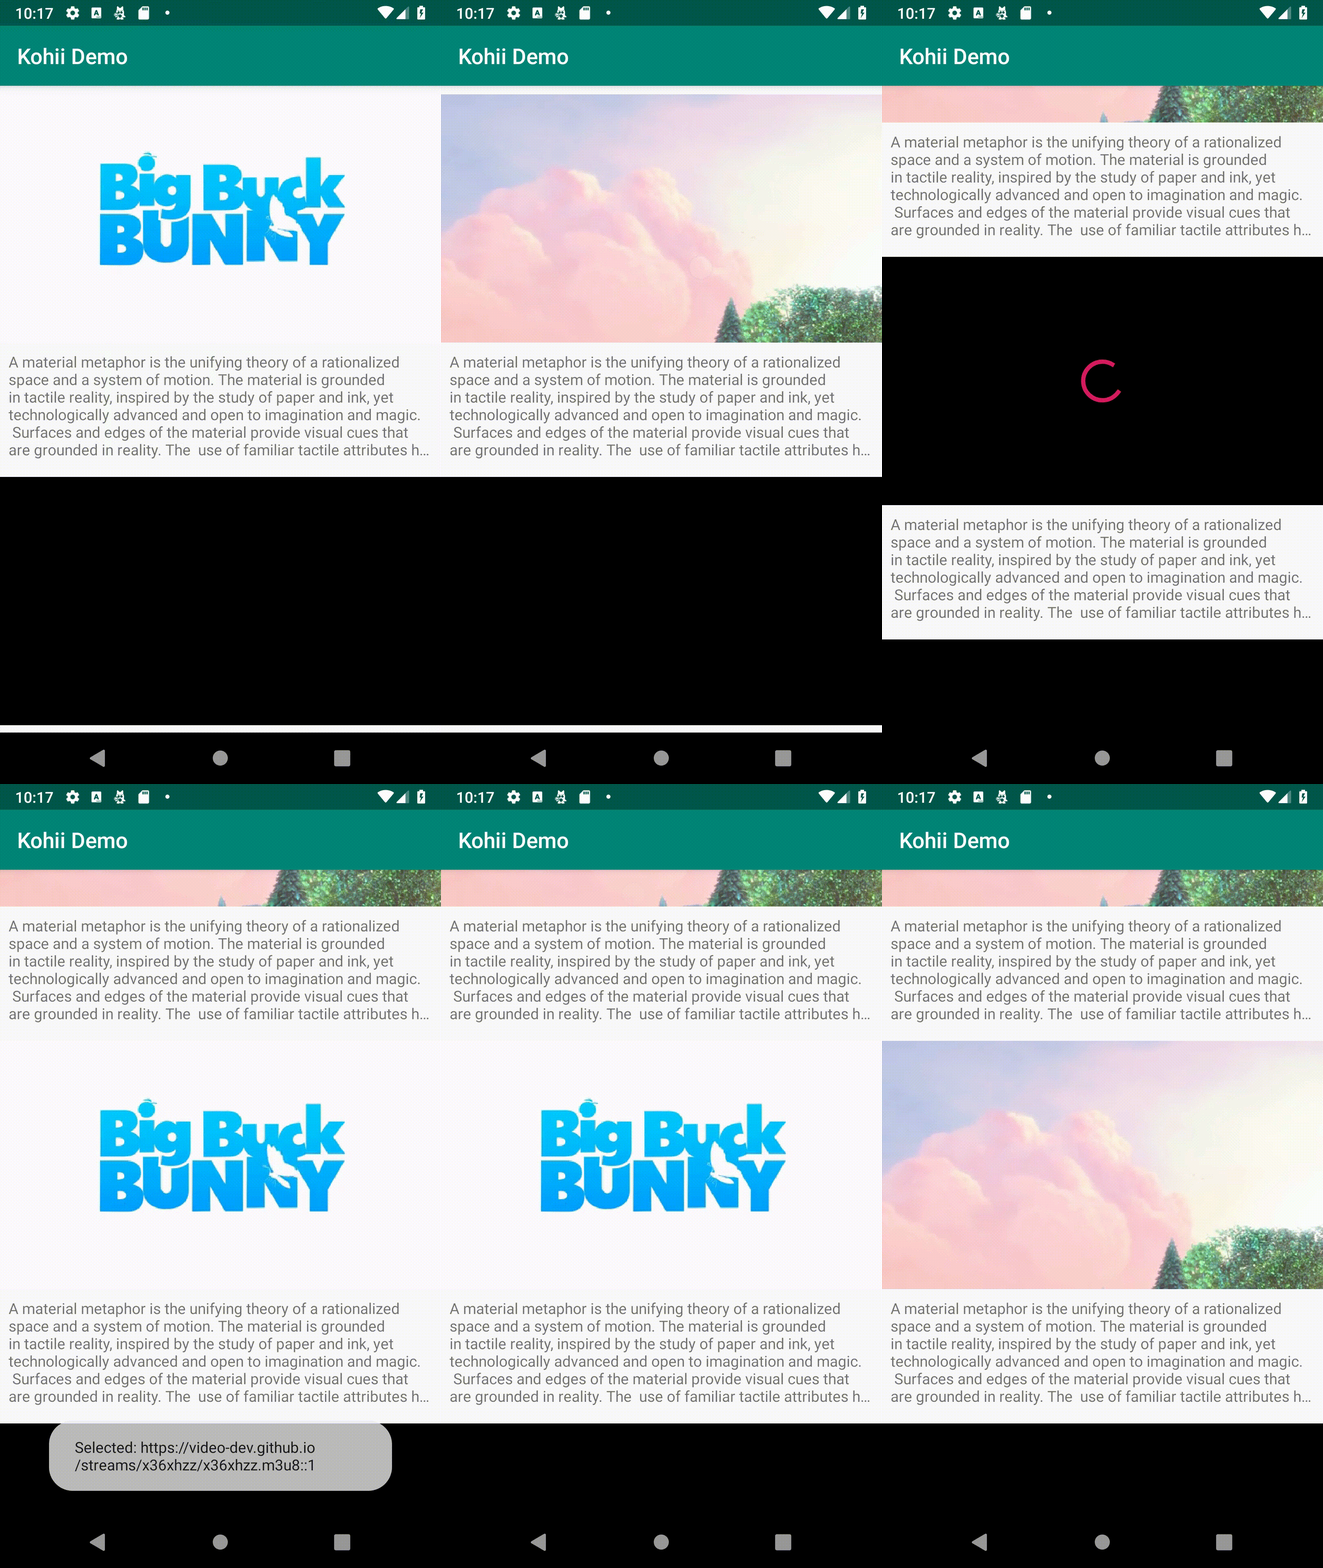
VideoTagKeyProvider(extendsItemKeyProvider) and aVideoItemLookup(extendsItemDetailsLookup). - Finally, to combine everything to get the current progess below:
5. Adding the View for our overlay player
This is the most complicated step. In this step, we will adding the overlay player using BottomSheetBehavior and MotionLayout.
See this diff to see what has changed.
Before going into the explaination, let see how our App becomes now:
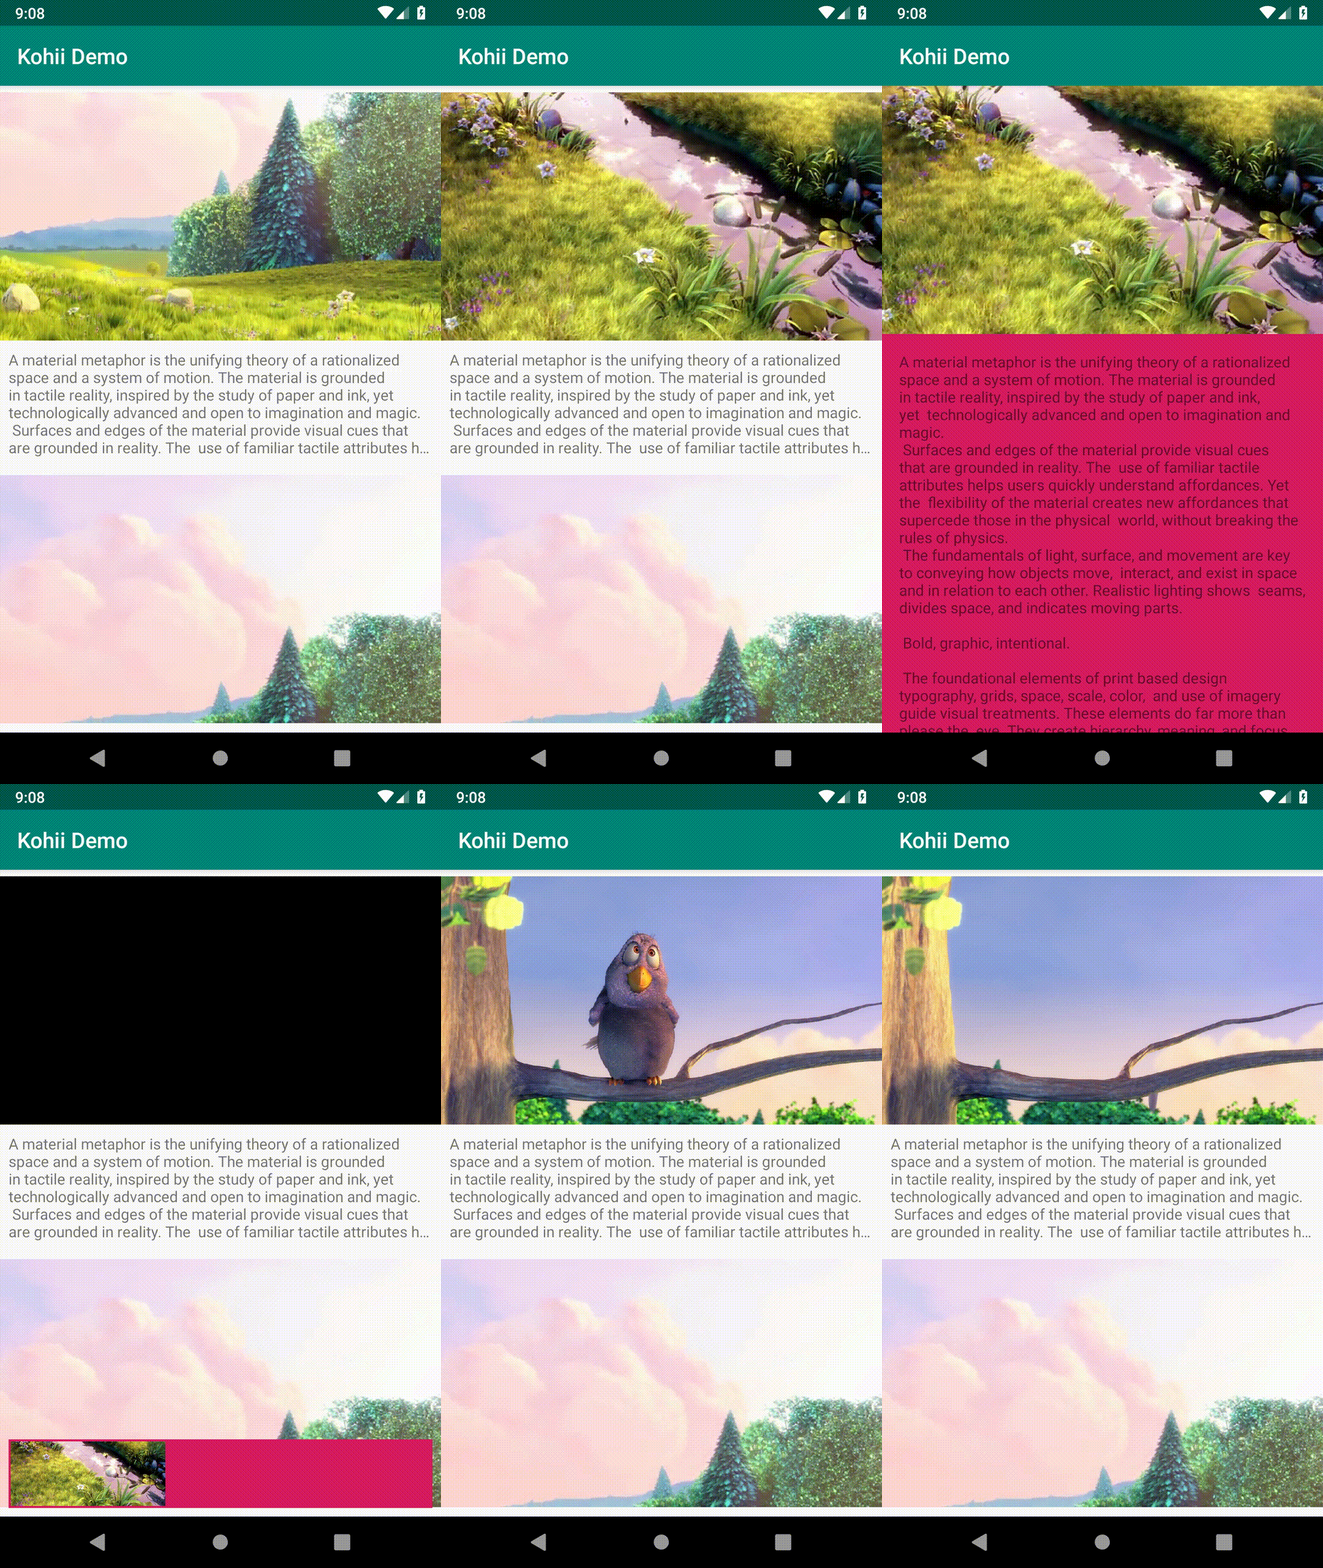
First, we need to prepare the MotionLayout that contains the layout of Single Player (the target layout when User click to a Video). Next, we need to give that MotionLayout a layoutDescription, which describe the MotionScene by which we transform the fullscreen layout to the mini overlay layout.
This MotionLayout will be contained inside a FrameLayout that has the BottomSheetBehavior.
We may not need to do this, but there is an issue I will describe below that I need to wrap the MotionLayout by a BottomSheetBehavior: Consider the scenarior when User click to a Video (which will open the fullscreen single player), and then drag it down to the mini player. Here, user open multi-windows mode. With correct instance state saving and restoring, we would expect it to keep being the mini player after the recreation. If we only use MotionLayout, we need to handle this state saving/restoring manually, and from my experience, it is quite painful. As said, it is doable, but it will be out of the scope of this post. Readers of this post are free to try. I would make further update if the task is actually trivial.
What we need to do next is to connect the selection with BottomSheet expanding/collapsing and MotionLayout transforming:
- Once a ViewHolder is selected, we expand the BottomSheet and update our PlayerView in the overlay layout with the Playable of that ViewHolder. We also need to clear the Playable of that ViewHolder, or else it will be played instead of our overlay PlayerView.
- The MotionLayout will listen to BottmSheet's sliding progress and update its progress accordingly.
- The BottomSheet will be the one to consume the drag event, and MotionLayout will again listen to its sliding progress an transform to the mini form.
One thing must be explain here is the custom KohiiDemoBottomSheetBehavior. By default, once the BottomSheet is at its expanded state, it will not intercept the touch event. This allow the View underneath to be touched. In our App, touching through BottomSheet while it is expanded will trigger a selection on RecyclerView, which is bad. To fix this, I extend the default BottomSheetBehavior and allow it to intercept the touch event when it is expanded.
Please note that, this is only for demonstration purpose. In production, you will need proper implementation. This should depend on your logic and requirement, and it is out of the scope of this post. I will keep looking for a better implementation as well.
Last but not least, you may notice the SelectionViewModel class. This is a technique i use to get back the selection state after a configuration change. So instead of having the setup for expanding the overlay player in 2 places (one in the selection observer callback, and one for the case we are back from a recreation, then we need to check the selection state, and then if/else hell to decide if we need to expand the overlay player or not). Using a ViewModel will help us to put our expanding logic in one logic, and update the selection state is just as simple as updating the ViewModel's LiveData value.
6. Finalize
After this step, our App is almost finish. Only one thing need to taken care: we want that once User clicks the Back button, it would not close the App, but instead:
- If the overlay player is expanded, clicking Back will collapse it to mini form.
- If the overlay player is in mini form, clicking Back will close it.
- If the overlay player is hidden, clicking Back will close the App as usual.
To make this happen, we simply add the following code in the MainActivity
override fun onBackPressed() {
  if (!ignoreBackPress()) super.onBackPressed()
}

private fun ignoreBackPress(): Boolean {
  return overlaySheet?.let {
    return when {
      it.state == BottomSheetBehavior.STATE_COLLAPSED -> {
        it.state = BottomSheetBehavior.STATE_HIDDEN
        true
      }
      it.state == BottomSheetBehavior.STATE_EXPANDED -> {
        it.state = BottomSheetBehavior.STATE_COLLAPSED
        true
      }
      else -> false
    }
  } ?: false
}
This change can be seen in this diff.
With this change, our App is finally done. What we do in this post can be found in this repository, so feel free to get the source code and play with it yourself.
7. Final words
So that is. After a long explanation of my approach, this is what you could do with it. I believe this may not be the best approach, but it works, in quite a beautiful way. I will keep working on this and hope it will help a lot of people.
Hope this post is helpful for you, and please make sure to check out the source code.
Happy scrolling and dragging!